Printing Technique

The Illustration
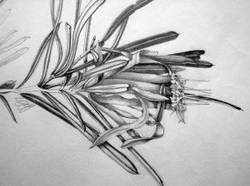
I begin the process of making a print by first illustrating the object, usually from a live specimen as well as from photos I have taken. I then transfer the design on to a piece of acid free tracing paper.
I begin the process of making a print by first illustrating the object, usually from a live specimen as well as from photos I have taken. I then transfer the design on to a piece of acid free tracing paper.

The Etching Plate
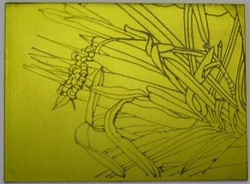
The image is then transferred on to a light sensitive photopolymer plate by exposing the plate and the image on the tracing paper to UV light. The surface of the plate is soluble in water, so after exposure, it is washed leaving the depressions created by the image in the plate.

The Print - Stage 1
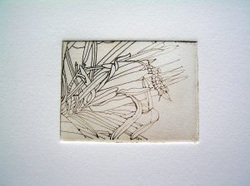
The plate is inked up, using water-based printing inks, wiped back and a sheet of 'rag' paper is placed over the image, before being put through a manual printing press, creating a copy of the original image.

The Print - Stage 2
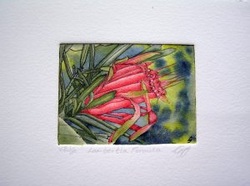
Once the ink on the print has dried, I use my water colouring skills to hand colour each print individually.
© 2023 Lindsey Goff
